Support docs
Build with confidence.
Everything you need to get the most out of your Studio Mesa template. Learn how your site works, find answers to common questions, and get help when something isn't working the way you expect.
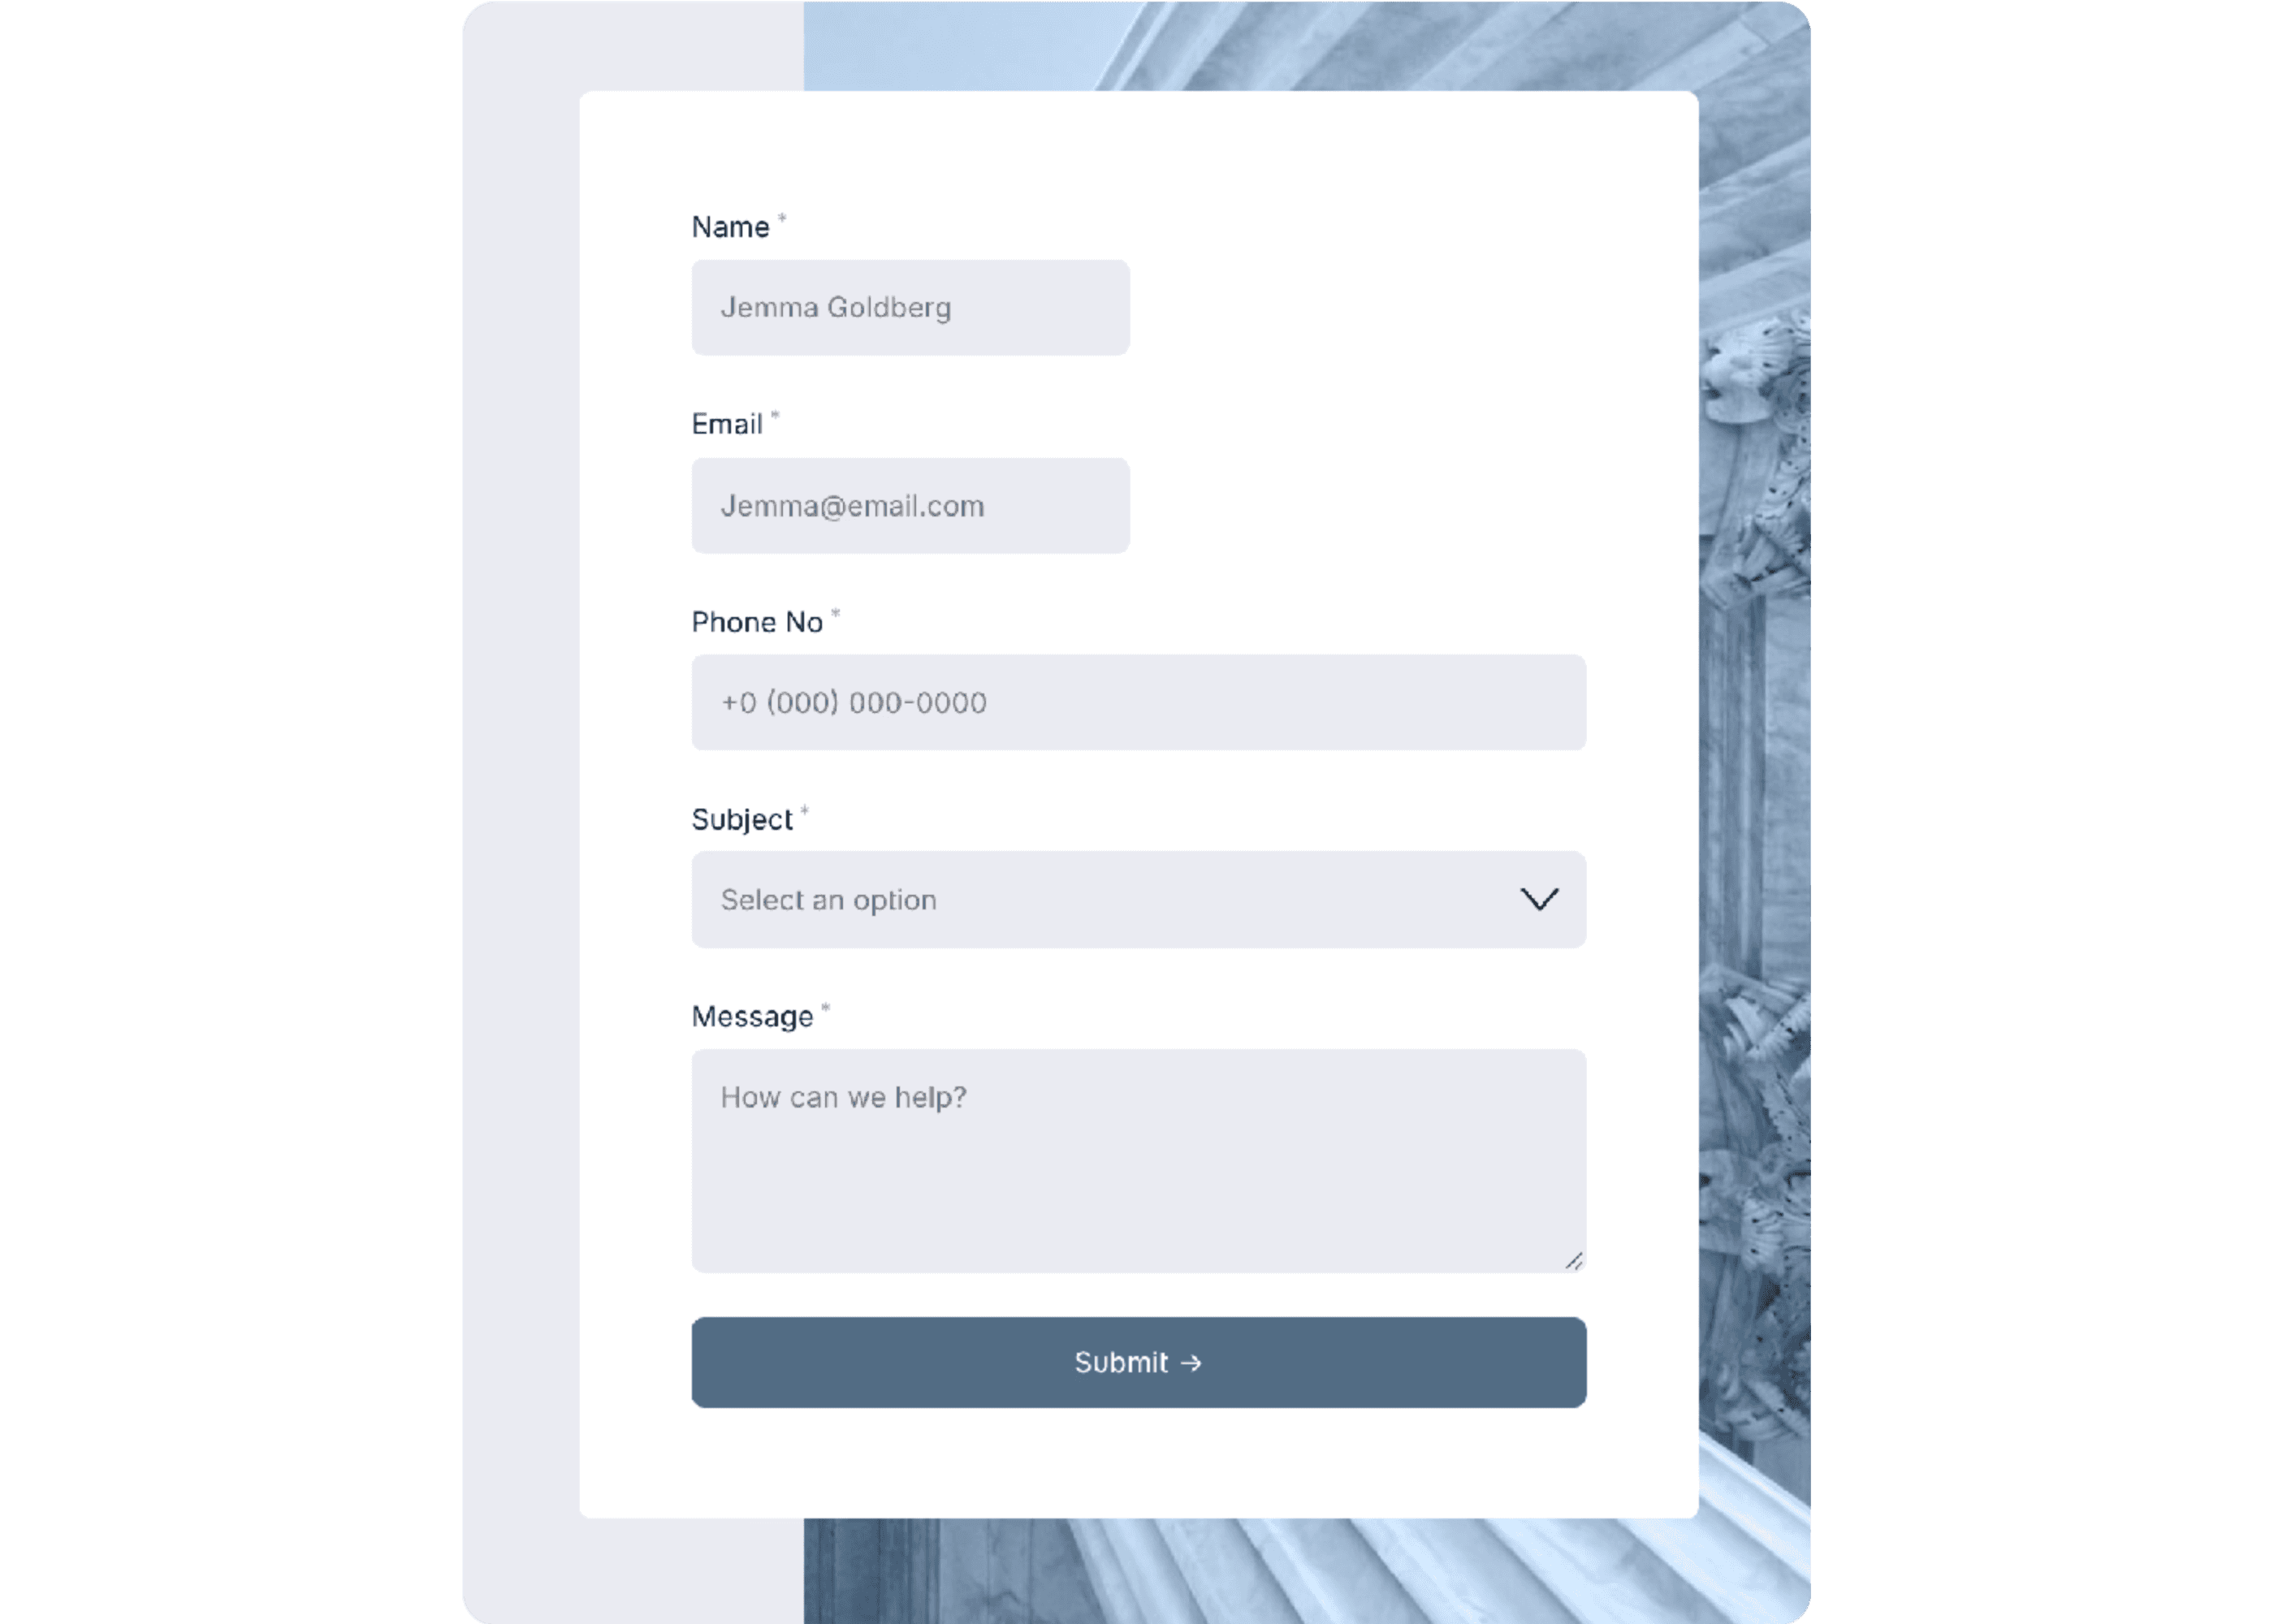
Have a question? Get in touch